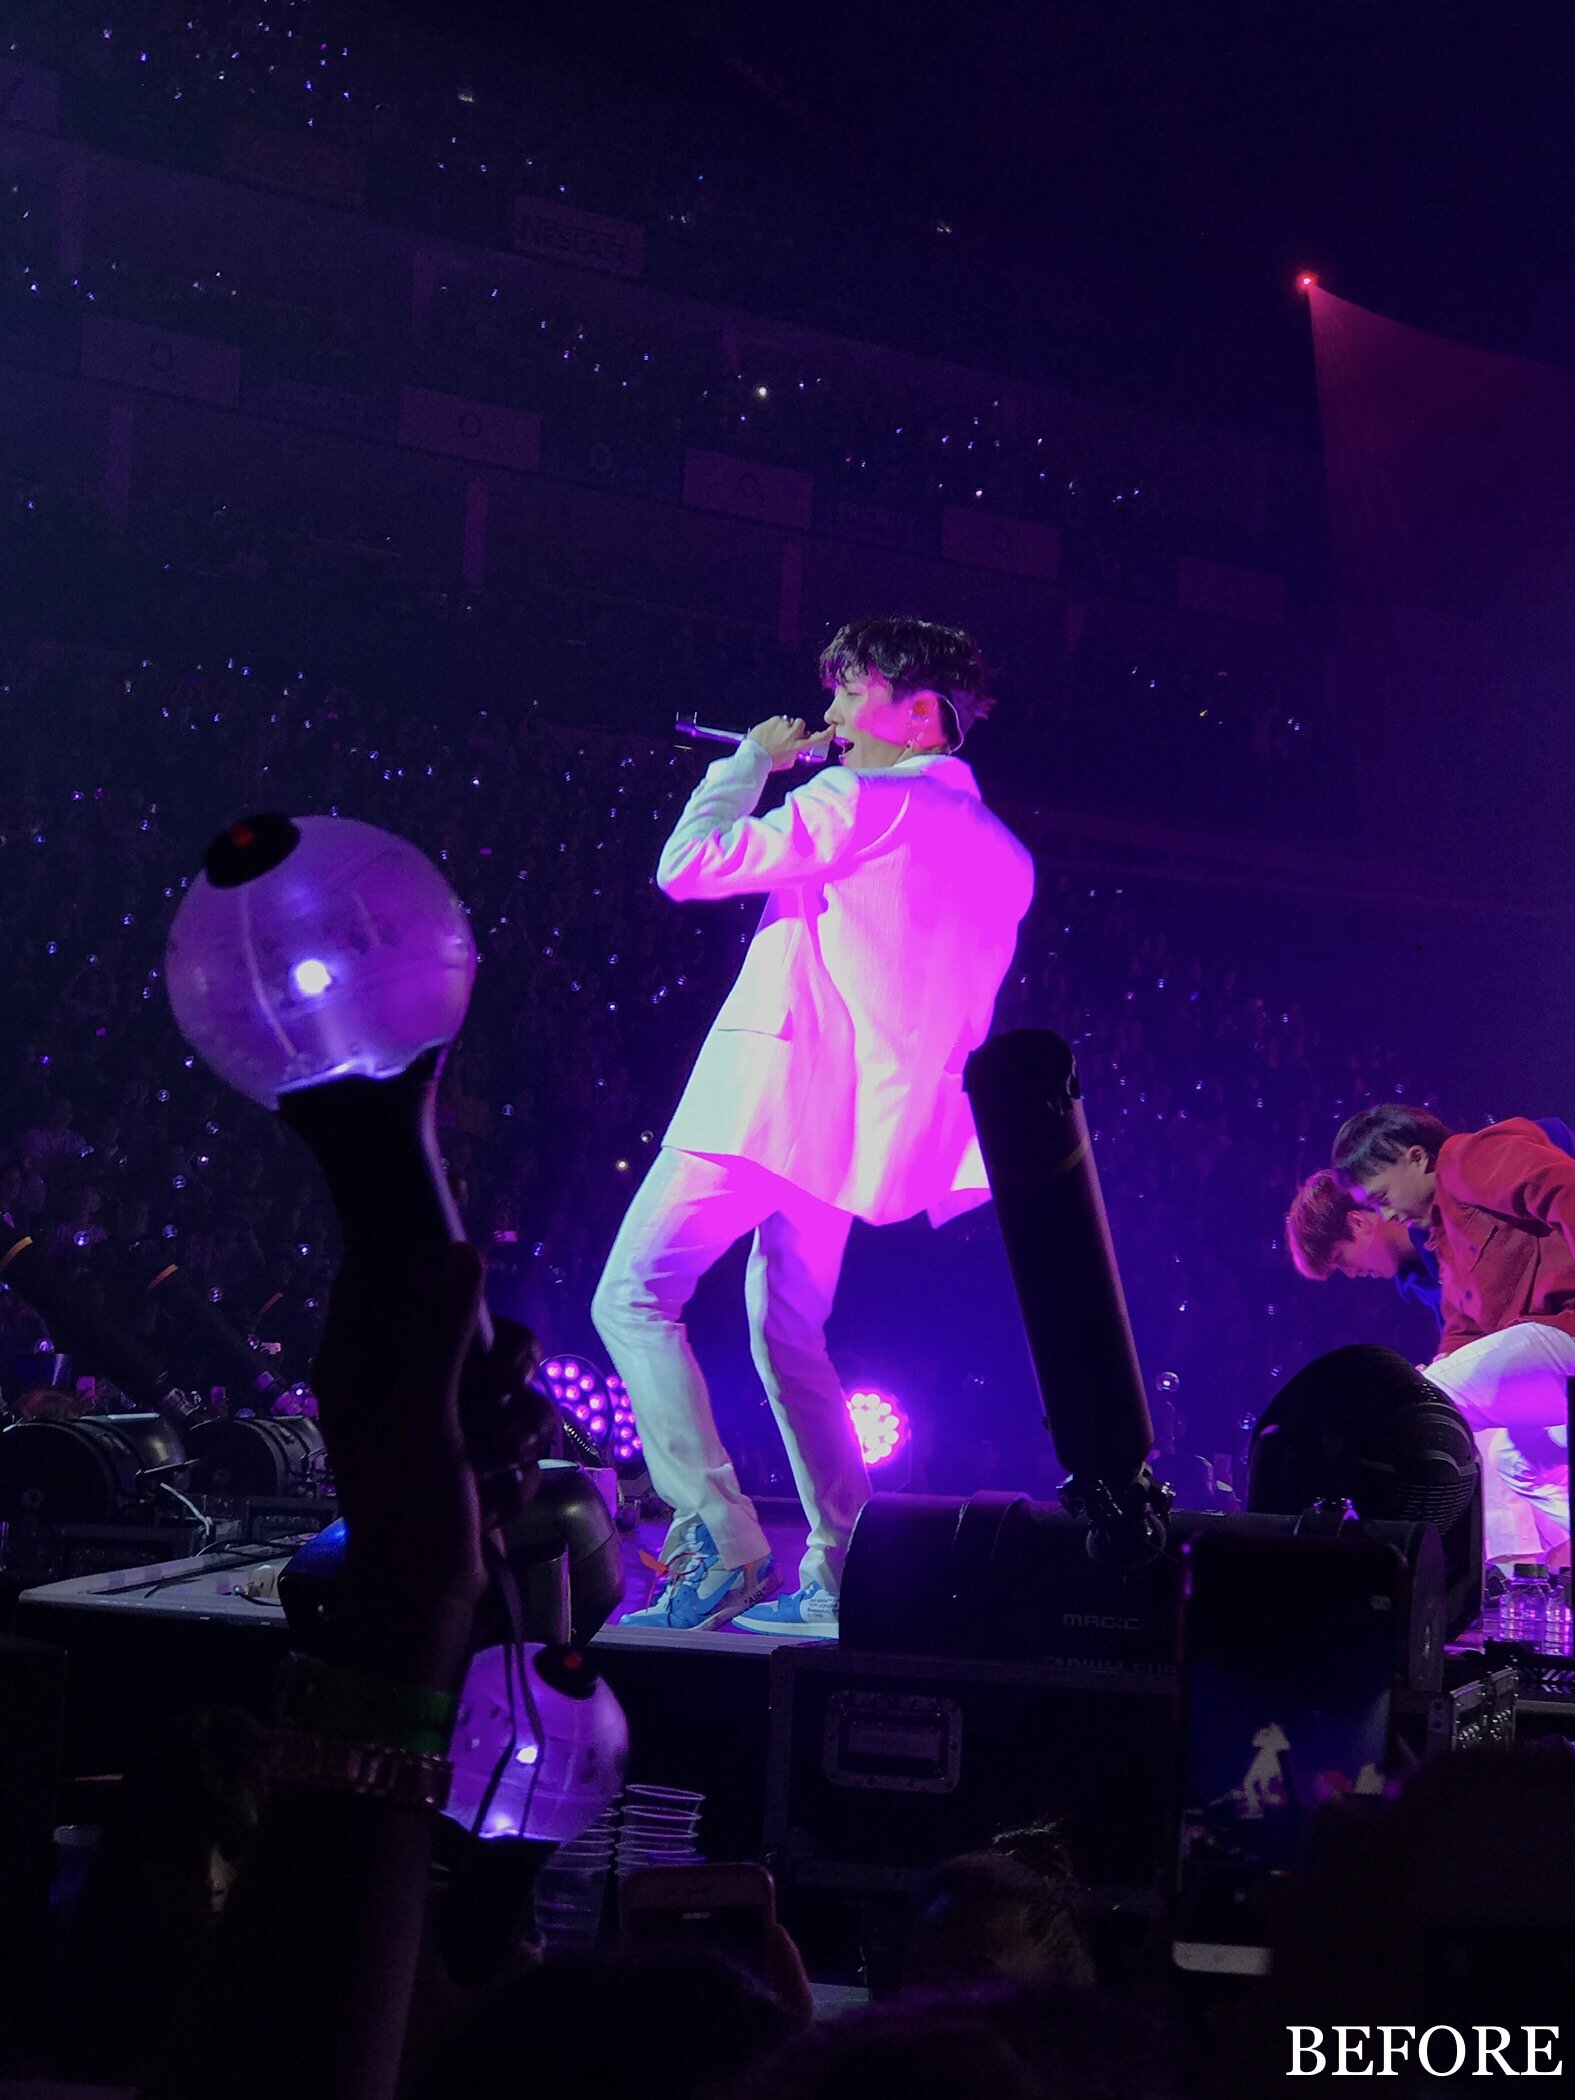
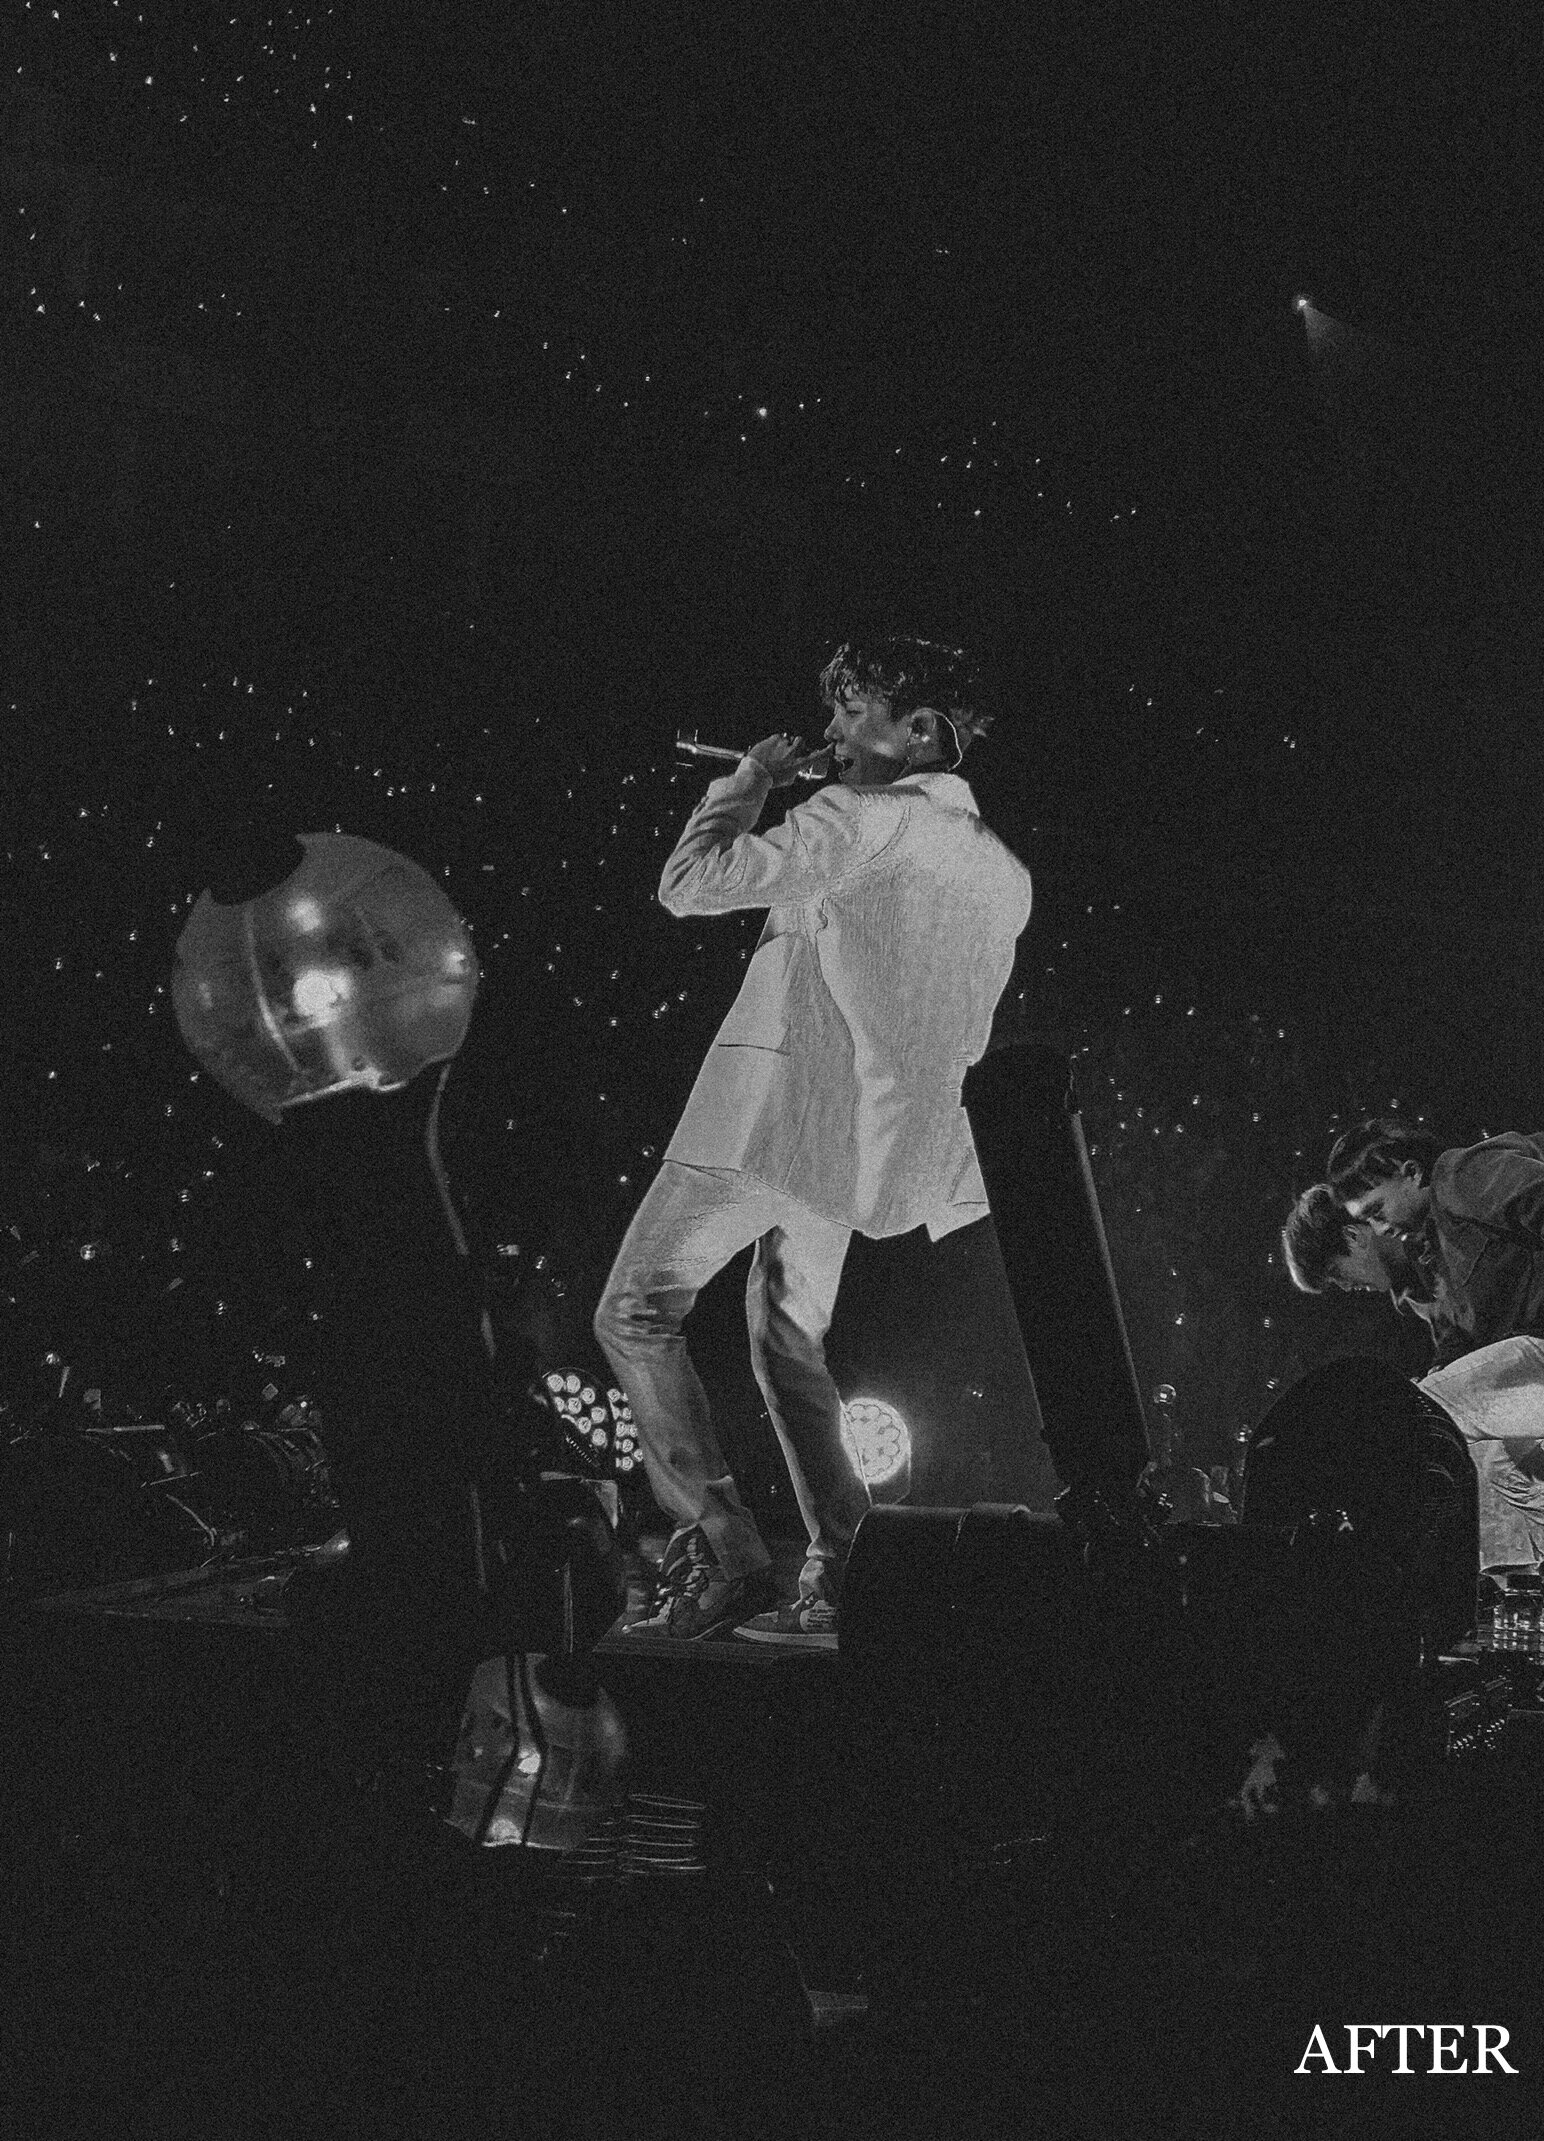
BTS’ J-Hope performing ‘Just Dance’ at the London O2 Arena, during the group’s ‘Love Yourself’ Tour in 2018. Photo by JAKIRA.
If you haven’t done so already, please consider signing this petition via Change.org, in hopes of getting Justice for Belly Mujinga. Belly Mujinga worked with the TFL (Transport for London) and was made to continue working her normal contact hours, with no PPE, despite her Employer being aware of her respiratory underlying health condition. Belly Mujinga contracted COVID-19 and died in hospital, after being assaulted by a member of the public who claimed to be infected with the virus when he spat on her. British Transport Police are taking no further legal action on the case, however, the Mujinga family are hoping to raise awareness of how the lack of PPE has put many essential workers’ lives at risk. Thank you.
Here in the UK, we’re starting to see concert dates, that were affected by the COVID-19 outbreak, being rescheduled. This means we’ll all be back in over-crowded, stuffy venues pretty soon! Love that for us! I think everyone has been itching to attend a concert or a music festival during lockdown, with many concert-goers disappointed in the cancellation of popular UK music festivals like ‘Wireless’ and ‘Glastonbury’. When concerts finally recommence, your Instagram feed will probably be bombarded with concert photos so, how will yours stand out? Maybe you’re going to a concert that prohibits the use of “professional cameras”, whatever that means. Don’t worry, I’ve got you – Here’s 5 tips on how YOU can get amazing, Instagram-worthy concert photos, using an iPhone.
1. Get as close as possible
This is probably fairly obvious to most people but I can’t stress enough how much of an advantage it is to get close to the stage. Not only does it allow for better (and clearer) photos, it maximises your chances of the artist(s) noticing you, which is a pretty cool experience. People are more likely to be drawn to your photo if they can clearly make out who the artist is, as opposed to someone else’s photo that just shows a silhouette-type figure. So, yeah, getting close to the stage is an absolute must.
2. Don’t zoom in too far
The amount of concert photos I’ve seen where people have zoomed in so far, to the point where the artist is barely recognisable, is ridiculous. I’ll be honest, I do zoom in a little at concerts sometimes but if I see that it doesn’t look great, I don’t bother. I’d rather have a clear photo that isn’t right up the artist’s nostrils than a photo that makes the “All K-pop artists look the same” meme, true. Corresponding with Tip #1, try to get closer to the stage; zoom with your feet, let’s say, and not on your phone.
3. Use the “AE/AF Lock” feature
Concert lighting looks really cool to the naked eye, but iPhones aren’t advanced enough (yet) to accurately capture what our eyes are seeing. Artists such as Travis Scott, whose concert I recently attended, does a really great job with his stage lighting design. However, all the amazing (and frankly, blinding) lights come at the expense of capturing good-quality photos. If you have an iPhone, you probably have the ‘AE/AF Lock' feature on your phone’s camera and didn’t even know about it. I mean, who reads an iPhone manual, right? If you go onto your iPhone’s camera app and hold the screen down for 1-2 seconds, on where you’d like to focus, a yellow-outlined square will pop up. At the top of the screen, you’ll see “AE/AF Lock” in a yellow box – AE is an abbreviation for ‘Auto Exposure’ and AF is ‘Auto Focus’. You can then go to the right side of the square (where the sun symbol shows) and slide up or down to adjust your exposure level. Now, your camera settings will remain locked and you’ll be able to take photos, continuously, without having to readjust your settings every time the artist moves.
4. Use “Burst” mode
Depending on what kind of concert you’re attending, it can be quite fast-paced, with a lot of movement going on on-stage. If you’re going to see artists like Ed Sheeran, you’ll probably be ok because he doesn’t move around too frantically while performing with his guitar. If you’re going to see Travis Scott, who has so much energy while performing, or BTS, who have insanely intense dance choreography, you’ll have some trouble managing to photograph the artist(s) in-action. Much like the ‘Continuous Shooting’ mode on a DSLR, iPhones have a feature called “Burst” mode. To enable this feature, all you have to do is hold down the shutter button. Using this feature during concerts gives you a higher chance of getting a good photo, because you’re taking multiple photos in a short amount of time. I highly recommend doing this but just make sure that you have a sufficient amount of storage, especially if you’re also capturing videos at the show. Seeing “iPhone Storage Full” mid-concert is the bane of my existence.
5. Edit Photos in Black & White
Lighting technicians tend to incorporate a lot of red and blue lights into their lighting designs for concerts. This can make photos look insanely saturated and, in my opinion, does not look great in photos. When images consist of a lot of reds and blues, I tend to convert them to B&W (like I did with the thumbnail of this post – keep scrolling for a BEFORE & AFTER) as it just makes the process of editing photos a lot easier, especially if I’m editing batches of photos. Reds and blues make photos look softer and not as clear whereas black and whites make the image more crisp and detailed. ‘When in doubt, convert to B&W’ is my motto for editing concert photos.
Thanks for reading! I hope you’ve found these tips helpful.
Love,
JK ♡


